Understanding Tile Installation Basics
Tile installation is a crucial part of home renovations or new builds that enhances both functionality and aesthetics. This comprehensive guide will delve into the essential elements of tile installation, serving as a guide for homeowners considering a project. A suitable choice can greatly elevate the ambiance and utility of any space. For those looking for the ideal solution, Tile Installater Salem is a great point of reference.
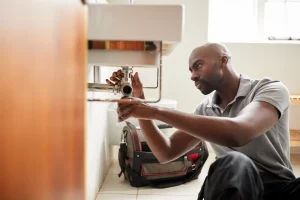
Importance of Proper Tile Installation
The significance of proper tile installation cannot be overstated. When installed correctly, tiles provide a durable, water-resistant surface that can withstand daily wear and tear. Poorly installed tiles, on the other hand, can lead to numerous issues, including cracking, peeling, and improper sealing, which might necessitate costly repairs down the line.
Additionally, proper installation contributes to the aesthetic appeal of a space. Tiling patterns, alignment, and surface level all play critical roles in creating an attractive finish. A well-executed job not only enhances the value of a property but also reflects the quality and integrity of the workmanship.
Types of Tiles and Their Uses
Understanding the different types of tiles available is essential for successful tile installation. Each type serves various purposes, making them suitable for specific environments:
- Ceramic Tiles: Highly versatile and popular for both walls and floors. They are water-resistant and come in various finishes.
- Porcelain Tiles: Denser and more durable than ceramic tiles, making them ideal for high-traffic areas and outdoor installations.
- Natural Stone Tiles: Includes materials like granite, slate, and marble. They provide a luxurious appearance but require more maintenance.
- Glass Tiles: Frequently used as accents or mosaics. They reflect light and are often found in kitchens and bathrooms.
- Vinyl Tiles: Cost-effective options for homeowners looking for durability without compromising style, suitable for many environments.
Tools Needed for Tile Installation
The right tools are fundamental to a successful tile installation. Below is a list of essential tools and their purposes:
- Trowel: Used to spread adhesive evenly on the substrate.
- Tile Cutter: Essential for making accurate and clean cuts in tiles.
- Level: Ensures that the surface is flat and even, preventing issues during installation.
- Grout Float: Used for applying grout to the joints between tiles after installation.
- Measuring Tape: Critical for determining the size and layout of the project area.
Choosing the Right Tile Installer
Selecting a qualified tile installer is critical to achieving the desired finish in your tile project. Various factors come into play when making this decision.
Qualities to Look For in a Tile Installater Salem
Identifying a reliable tile installer involves evaluating their experience and expertise. Key qualities to look for include:
- Experience: Choose an installer with a proven track record and years of experience.
- References: Always ask for client references to gauge satisfaction levels and the quality of previous work.
- Certification: Check for certifications that prove professionalism and adherence to industry standards.
- Insurance: A reputable installer should carry liability insurance to protect against potential damages.
Questions to Ask Before Hiring
Before making your final decision, ask potential installers several critical questions:
- What is your experience with projects similar to mine?
- Can I see a portfolio of your previous work?
- What is your process for preparing the site and installing the tiles?
- What guarantees or warranties do you offer on your work?
- How do you handle unexpected issues during installation?
Understanding Pricing and Quotes
Tile installation costs can vary significantly based on various factors, including the type of tile, size of the area, and complexity of the project. It’s essential to understand the quote breakdown:
- Material Costs: This includes the cost of tiles, adhesive, grout, and any additional materials required.
- Labor Costs: Professionals typically charge per square foot. Rates can vary based on location and expertise.
- Preparation Costs: Any necessary subfloor preparation or removal of old flooring may add to costs.
Obtaining multiple quotes can help gauge a fair price and ensure that you’re being charged appropriately.
Preparing for Your Tile Project
Proper preparation is key to successful tile installation. The following steps can help ensure your project runs smoothly.
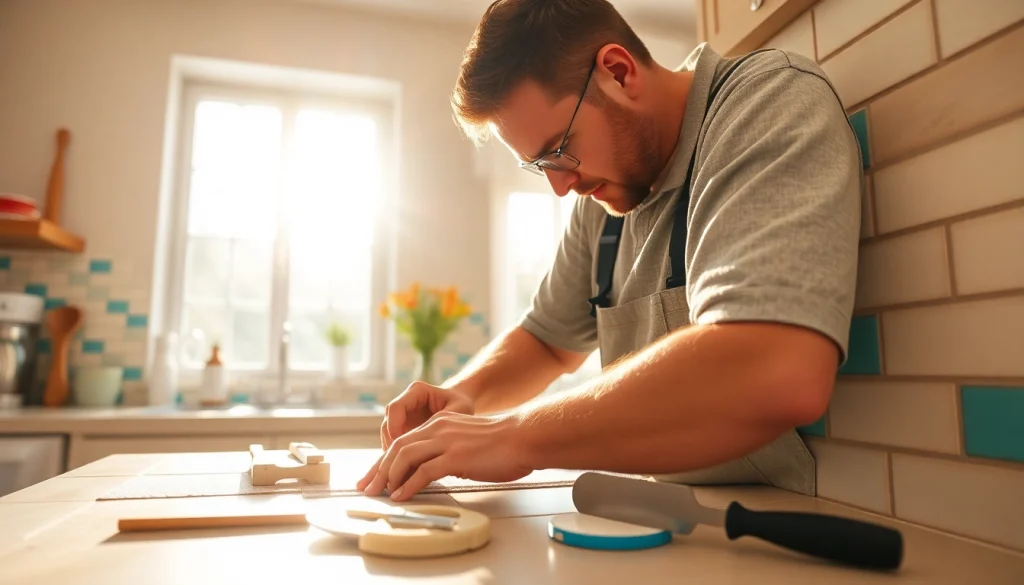
Measuring Your Space for Accurate Estimates
Accurate measurements are crucial for estimating materials and ensuring that your tiles fit correctly. Tools required include a measuring tape and possibly a laser level. Make sure to measure length and width of the installation area and consider the layout, including edges, curves, and any obstacles.
Selecting the Perfect Tile for Your Style
Your choice of tile can dramatically influence the look and feel of your space. Consider the following aspects when selecting tiles:
- Color and Pattern: Choose colors and patterns that align with your existing decor or desired atmosphere.
- Finish: Decide between matte, glossy, or textured finishes based on use and maintenance.
- Size: Larger tiles can create a modern look, while smaller tiles can provide intricate designs.
DIY vs. Professional Installation: What to Consider
Deciding between DIY installation and hiring professionals depends on several factors:
- Skill Level: If you have experience, DIY can save money; otherwise, hiring a pro is advisable.
- Time: Professionals are typically faster, which is vital for larger projects.
- Complexity of the Project: Complex designs and large areas often require skill that a professional can provide.
Executing Your Tile Installation
Once preparations are complete, it’s time to install your tiles. This section outlines the process in detail.
Step-by-Step Tile Installation Process
The tile installation process generally follows these steps:
- Prepare the Subfloor: Ensure the surface is clean, dry, and level to avoid complications.
- Dry Lay Tiles: Before adhesion, lay out tiles to visualize the design and identify any cuts needed.
- Apply Adhesive: Using a trowel, apply tile adhesive on the surface, starting from the center and working outward.
- Place Tiles: Firmly press tiles into the adhesive, ensuring even spacing and alignment.
- Allow to Dry: Follow product instructions regarding drying time for the adhesive.
- Grout the Joints: Once the adhesive has set, apply grout with a float, filling all joints adequately.
- Clean Up: Remove excess grout and allow to cure as per instructions.
Common Mistakes to Avoid During Installation
Installing tiles can come with challenges. Here are common pitfalls and how to avoid them:
- Incorrect Measurements: Always double-check your measurements before cutting tiles to prevent wastage.
- Poor Adhesive Application: Ensure an even layer of adhesive to prevent tiles from shifting and create a flat surface.
- Neglecting Grout Lines: Pay attention to spacing for uniform grout lines, which affect the overall appearance.
Post-Installation Care for Your Tiles
Once your tiles are installed, maintaining them is essential to ensure longevity:
- Regular Cleaning: Sweep and mop regularly to keep dirt and debris at bay.
- Grout Sealing: Consider sealing grout to protect it from moisture and stains.
- Avoid Harsh Chemicals: Use mild cleaning products to maintain the finish of the tiles without causing damage.
Frequently Asked Questions
What should I consider before hiring a tile installer?
Consider their experience, reviews, and warranty on their work. Always check references to gauge the quality of their past projects.
How long does tile installation typically take?
Timeframes vary based on project size, but installations generally take between 1 to 3 days. Discuss timelines with your installer for better clarity.
What are the costs associated with tile installation?
Typical costs range from $3 to $15 per square foot, depending on tile type and project complexity. Ensure to get detailed quotes for transparency.
Can I install tiles myself?
While it is possible, it requires the right tools and techniques for successful installation. Consider your skill level before deciding.
How do I maintain my tiles post-installation?
Regular cleaning and periodic sealing of grout can ensure longevity and appearance. Avoid harsh chemicals and follow specific care guidelines.