Installing a vacuum circuit breaker correctly is essential to ensure reliable operation, safety, and long-term performance. At Aierway, our high-performance Vacuum circuit breaker are designed for efficiency, durability, and minimal maintenance. This guide provides a clear, step-by-step approach to installing a vacuum circuit breaker for industrial, commercial, and utility applications.
Step 1: Pre-Installation Inspection
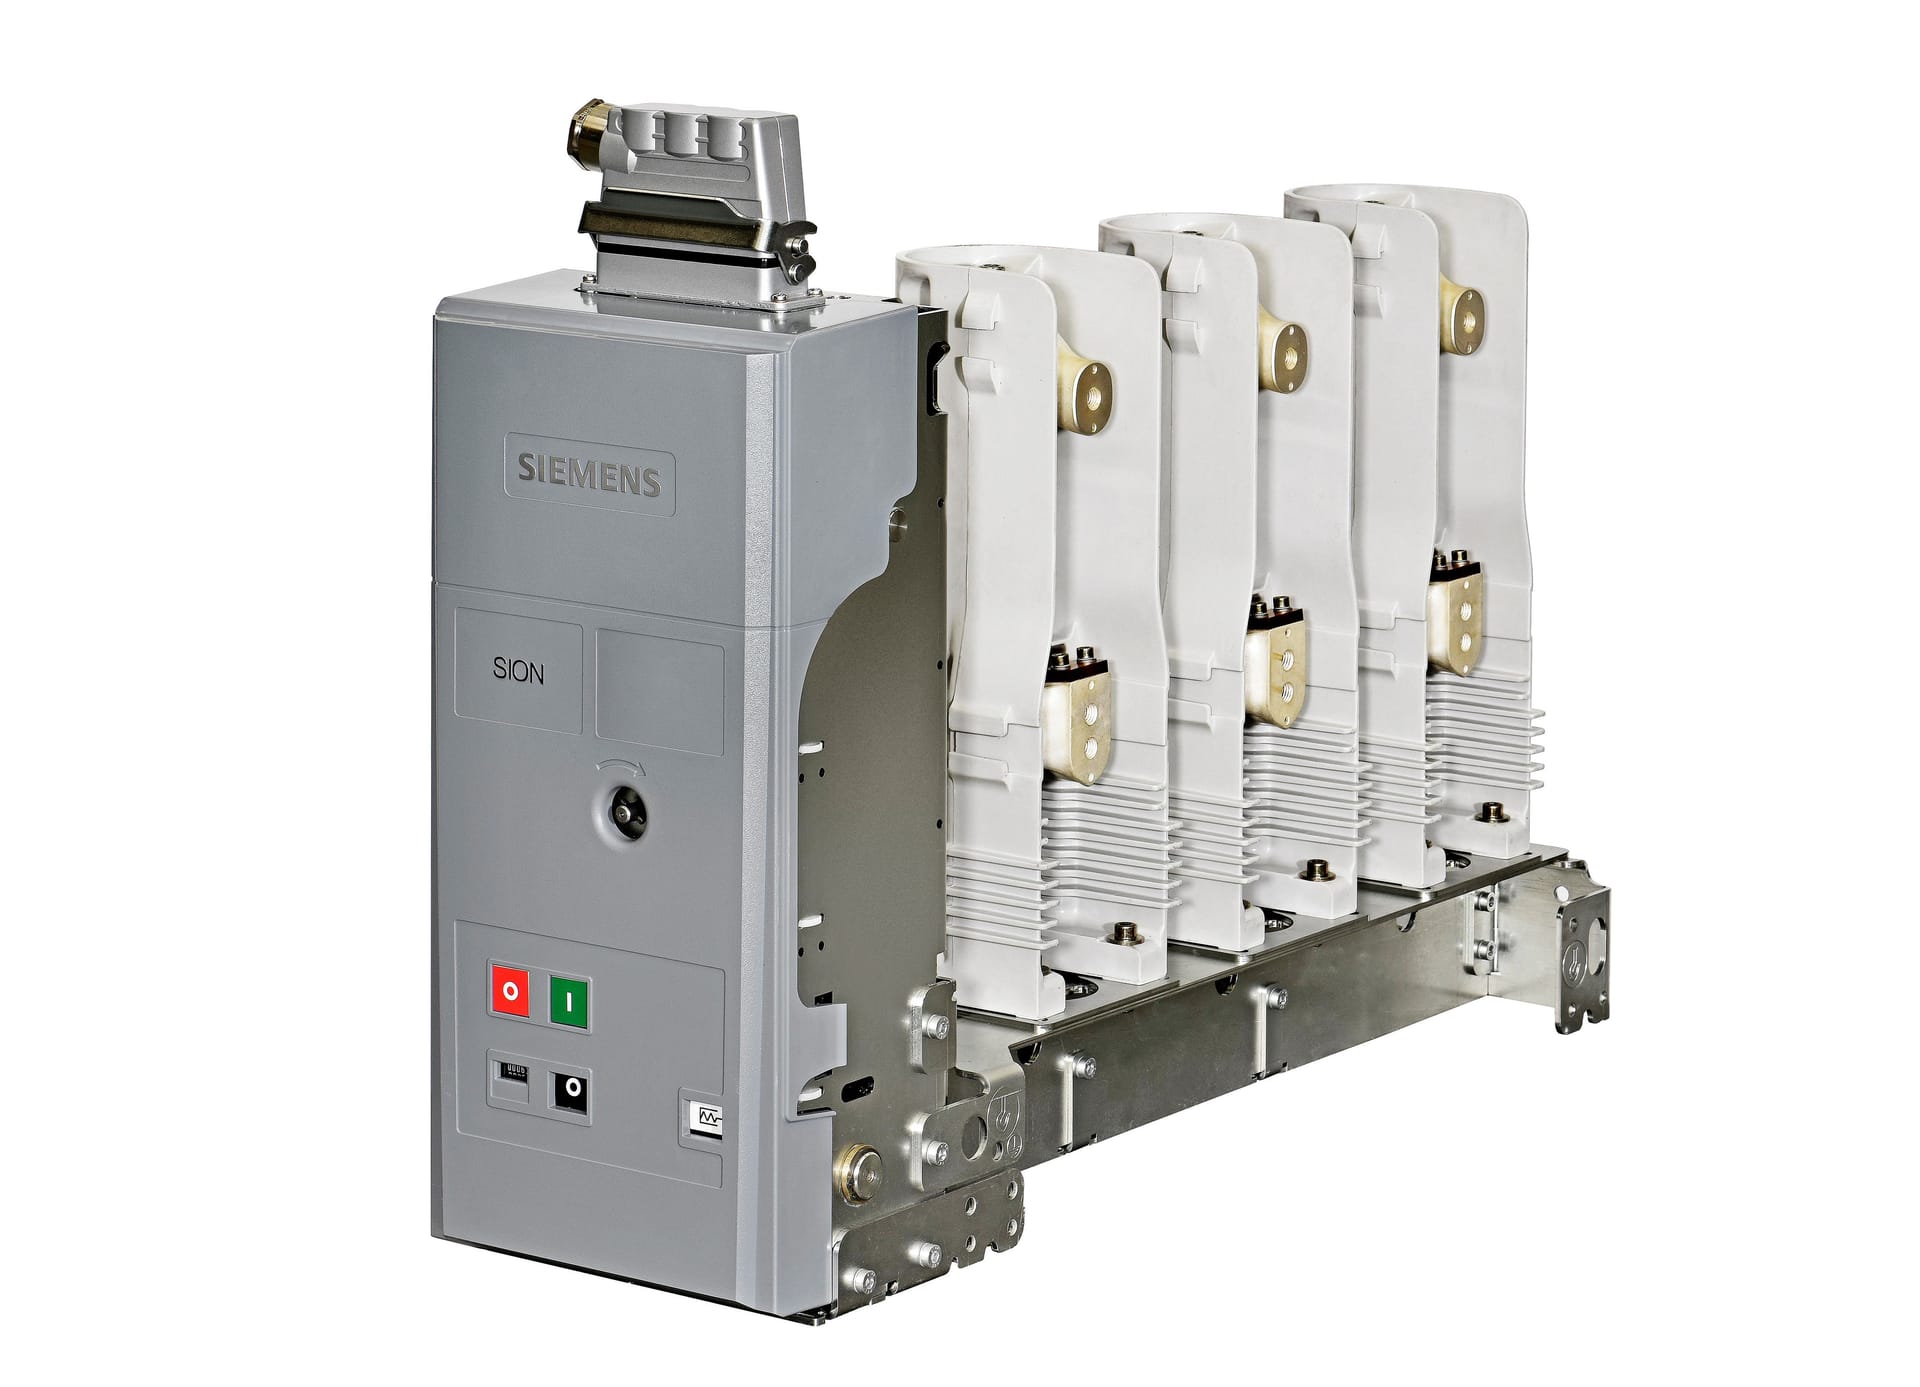
Before starting the installation of a vacuum circuit breaker, perform a thorough inspection:
- Check the vacuum circuit breaker for any visible damage during shipping.
- Verify that the rated voltage, current, and specifications match the system requirements.
- Inspect insulating parts, contacts, and mechanical components for integrity.
Ensuring that the vacuum circuit breaker is free from defects before installation helps prevent future operational issues.
Step 2: Site Preparation
Proper site preparation is crucial for a safe and effective vacuum circuit breaker installation:
- Ensure the mounting platform is level, stable, and capable of supporting the vacuum circuit breaker.
- Verify proper grounding and clearances according to safety standards.
- Make sure all auxiliary equipment, including control panels and busbars, is ready for connection.
Step 3: Mounting the Vacuum Circuit Breaker
- Carefully lift and position the vacuum circuit breaker onto the mounting platform.
- Secure the breaker using bolts or brackets, ensuring it is firmly installed.
- Confirm that the breaker’s orientation and alignment match the design specifications.
Proper mounting prevents mechanical stress and ensures smooth operation of the vacuum circuit breaker.
Step 4: Electrical Connections
- Connect the main terminals of the vacuum circuit breaker to the power system busbars.
- Ensure all electrical connections are tight, clean, and free of corrosion.
- Connect auxiliary circuits, including control wiring and protection relays, according to the wiring diagram.
Correct electrical connections are critical for the vacuum circuit breaker to function reliably and safely.
Step 5: Mechanical and Operational Checks
Before energizing the vacuum circuit breaker, perform these checks:
- Operate the breaker manually and electrically to ensure smooth movement.
- Test the opening and closing mechanisms, interlocks, and auxiliary devices.
- Verify that control circuits respond correctly to trip and close commands.
This ensures that the vacuum circuit breaker operates as designed under all conditions.
Step 6: Energization and Testing
- Energize the vacuum circuit breaker and monitor for any abnormal sounds, vibrations, or overheating.
- Perform insulation resistance tests, contact resistance tests, and functional tests.
- Document all readings for future maintenance and reference.
Proper testing confirms the vacuum circuit breaker is ready for safe and reliable operation.
Step 7: Maintenance Planning
Even though vacuum circuit breakers require minimal maintenance, it’s essential to establish a schedule:
- Periodically inspect contacts, control circuits, and mechanical parts.
- Keep the breaker clean and free from dust or moisture.
- Follow the manufacturer’s maintenance guidelines for long-term performance.
Conclusion
A correct installation of a vacuum circuit breaker ensures safety, efficiency, and longevity. By following this step-by-step guide, industries, utilities, and commercial facilities can optimize the performance of Aierway vacuum circuit breakers.
Investing in proper installation and periodic maintenance guarantees that your vacuum circuit breaker provides reliable protection for your electrical systems for years to come.